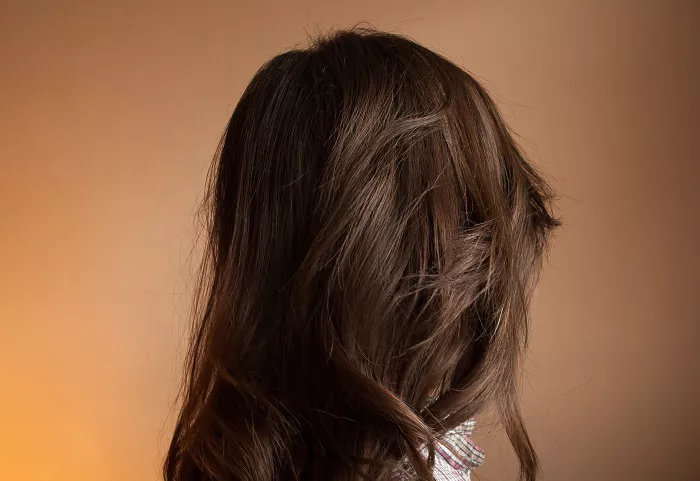
In the colorful and creative world of hair design, creating beautiful straight curls at home can be a fun, fulfilling and rewarding experience. When we use the right and appropriate tools, and skillfully perform the right technique, we can, like a magic wand, subtly transform the original monotonous straight hair into a beautiful mane that is fashionable, charming and flowing like waves, so that it can be perfectly adapted to any occasion in life, whether it is a relaxing daily leisure time. Or something special that needs to be dressed up.
Preparing Your Hair
Wash and Condition: Begin with clean, freshly washed hair. Use a shampoo and conditioner that suits your hair type. For example, if you have dry hair, choose a moisturizing conditioner. This helps to keep your hair healthy and hydrated, which is crucial for maintaining the integrity of the waves. Gently massage the shampoo into your scalp and work the conditioner through the lengths and ends. Rinse thoroughly.
Towel Dry: After washing, gently squeeze out excess water with a towel. Avoid rubbing vigorously as this can cause frizz and damage the hair cuticle. You can also use a microfiber towel, which is more gentle on the hair and absorbs water more effectively.
Apply Heat Protectant: This is a vital step as heat styling tools can damage your hair. Spray a heat protectant evenly throughout your hair, focusing on the mid-lengths and ends. This forms a protective barrier between your hair and the heat, reducing the risk of breakage and split ends.
Choosing the Right Tools
The right tools are key to achieving perfect straight hair waves.
Curling Iron or Wand:
You can use either a curling iron with a barrel or a curling wand. A curling iron with a clip is easier for beginners as it holds the hair in place while you curl. For looser waves, a larger barrel (1.5 – 2 inches) is preferable. A curling wand gives a more natural, tousled look and is great for those who are more experienced. It allows you to wrap the hair around the wand freely.
Hair Clips:
Use hair clips to section your hair. This makes the curling process more organized and ensures that you don’t miss any strands. Divide your hair into horizontal sections from the nape of the neck upwards. The number of sections depends on the thickness of your hair. For thick hair, you may need more sections.
The Curling Process
Section the Hair:
As mentioned earlier, clip up the top layers of your hair and start with the bottom section. This bottom section should be about 2 – 3 inches wide. Release a small subsection of hair from the bottom section, about 1 – 2 inches wide.
Wrap the Hair:
If you’re using a curling iron with a clip, open the clip and place the end of the subsection of hair close to the root. Then, close the clip and wind the hair around the barrel. Hold it for about 5 – 10 seconds. If using a curling wand, wrap the hair around the wand starting from the mid-length, leaving the roots straight. Hold for the same amount of time. The key is to be consistent with the time you hold the hair on the tool to ensure even waves.
Alternate Directions:
To create a more natural look, alternate the direction in which you wrap the hair. For example, wrap one subsection towards your face and the next one away from your face. This gives the waves a more random and flowing appearance.
Work Your Way Up:
After curling the first subsection of the bottom section, release another subsection and repeat the process. Once you’ve curled the entire bottom section, move on to the next section above it, unclipping and curling each subsection in the same way, alternating directions.
Finishing Touches
After you’ve curled all your hair, it’s time to add the finishing touches.
Let the Curls Cool:
Allow the curls to cool completely before touching them. This helps to set the waves. You can use this time to apply your makeup or get dressed. Once cooled, gently run your fingers through the curls to separate them and create a more natural, soft wave. Avoid using a comb as this can disrupt the wave pattern.
Apply Hairspray:
To hold the waves in place, use a light to medium hold hairspray. Hold the can about 10 – 12 inches away from your head and spray evenly over the waves. This gives the waves some hold without making them look stiff or crunchy. If you want a more defined look, you can use a stronger hold hairspray, but be careful not to overdo it.
Add a Shine Serum (Optional):
If you want to add some shine to your waves, apply a small amount of shine serum to the palms of your hands and then run your hands over the waves, focusing on the mid-lengths and ends. This gives a healthy, glossy finish to your hair.
Conclusion
DIY straight hair waves can give you a stylish and effortless look. With a little practice and patience, you can master this technique and have beautiful waves whenever you want. Whether it’s for a casual day out or a special event, these waves can enhance your overall appearance and make you feel confident and glamorous. Experiment with different barrel sizes and curling techniques to find the style that suits you best. And remember, taking care of your hair before and after styling is just as important as the curling process itself. So, embrace the world of DIY hairstyling and let your creativity shine through your beautiful, wavy hair.

