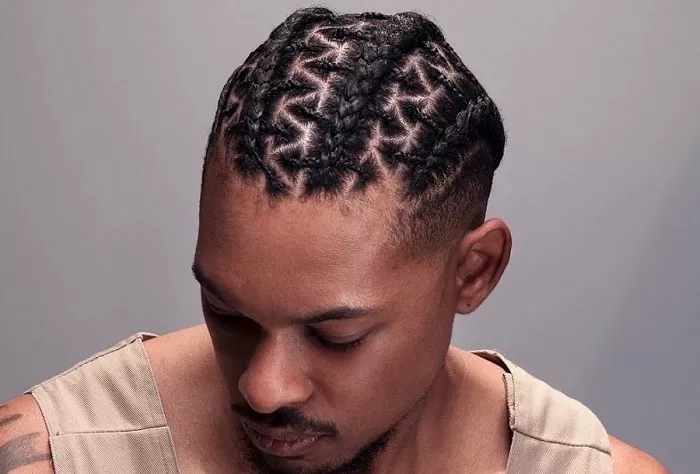
The Simple Crew Cut
Tools Needed
Step – by – Step Process
Start with clean, dry hair. Choose an appropriate guard size on your clippers. For a classic crew cut, a guard between #2 and #4 usually works well.Begin at the sides and back of your head. Hold the clippers flat against your scalp and move them in an upward direction, against the grain of the hair growth. This helps to achieve a smooth, even cut. Work your way around the sides and back, making sure to keep the length consistent.For the top of the head, you can either use a slightly longer guard or blend the top with the sides by gradually reducing the length as you move from the crown to the edges. You can use the comb to lift the hair slightly as you clip to ensure an even cut.Once you’ve achieved the desired length, use a handheld mirror to check for any uneven spots. You can make small adjustments with the clippers as needed.
Styling and Maintenance
The Fade Haircut
Types of Fades
Tools and Preparation
Execution of the Fade
For a low fade, start with a longer guard at the top of the fade area (usually around the temples) and gradually switch to shorter guards as you move down towards the hairline. Use smooth, even strokes with the clippers, following the natural curve of your head.In the case of a mid – fade, the transition point will be in the middle of the side of the head. Use the same technique of changing guards to create a seamless blend.For a high fade, the fade will start higher up, almost near the top of the ear. Pay close attention to the blending, as a high fade can be more noticeable if not done correctly. You can use the clippers without a guard to create a very short, almost shaved area at the bottom of the fade.
Finishing Touches
The Quiff
Materials Required
Styling Steps
Start with towel – dried hair. Apply a small amount of volumizing mousse to the roots of your hair, especially at the front where you’ll create the quiff.Use the blow – dryer with the round brush to lift the hair at the front and create volume. Start at the roots and work your way up, curling the hair slightly with the brush as you dry it.Once the hair is dry, apply the pomade or gel to the front section of your hair. Use your fingers to shape the quiff, pulling the hair up and back slightly. You can create a more pronounced or a more relaxed quiff depending on your preference.For the sides of the hair, you can either keep them short or style them in a tapered manner. Use a comb to smooth the sides and create a clean look.
Maintaining the Quiff
The Undercut
Undercut Variations
Tools and Setup
For an undercut, you’ll need clippers and possibly a razor for a very close shave. Make sure your hair is clean and dry before starting.
Creating the Undercut
If you’re doing a classic undercut, use the clippers with a very short guard or no guard at all to shave the sides and back of your head. Start from the bottom and work your way up, following the natural contour of your head.In the case of a disconnected undercut, there will be a more distinct separation between the top and bottom sections of the hair. You can use the clippers to create a sharp line of demarcation.For a shaved undercut, a razor can be used to achieve an even closer shave on the sides and back. Be careful when using the razor to avoid any cuts or nicks.
Styling the Top
The top of the hair can be styled in various ways. You can leave it long and messy, create a slicked – back look with pomade, or style it with a side part. Experiment with different products and styles to find what suits you best.
Maintenance of the Undercut
The Man Bun
Requirements
Creating the Man Bun
Gather your hair at the back or top of your head, depending on your preference. Make sure the hair is smooth and free of tangles.Twist the hair into a bun shape. You can either make a tight bun for a more formal look or a loose, messy bun for a more casual style.Secure the bun with the hair tie. If you have any loose strands, you can use a small amount of hairspray to keep them in place.

