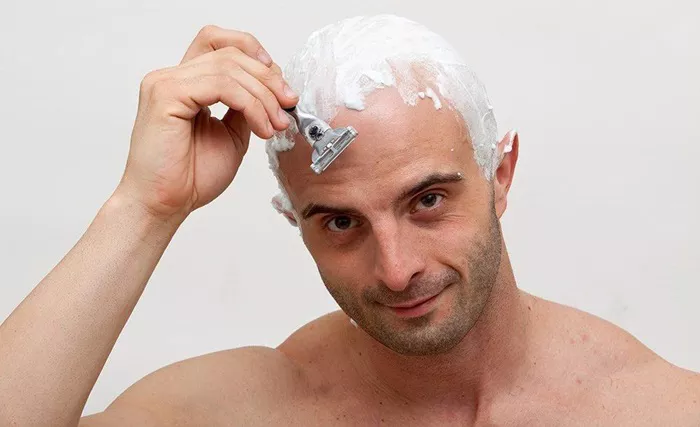
Introduction to Razor Cutting
Razor cutting is a technique that has gained popularity for its ability to create soft, textured looks on short hair. Unlike traditional scissor cutting, which tends to create clean lines and blunt edges, razor cutting involves using a razor tool to create softer, more feathered ends. This technique is particularly well-suited for short hair as it adds movement and dimension to the hair, making it appear fuller and more voluminous.
One of the key distinctions of razor cutting is the way it removes hair. While scissors slice through the hair, razors have a more scraping action, which results in a softer, more natural finish. This makes razor cutting an excellent choice for those looking to achieve a more relaxed, effortless style with their short hair.
Tools Required
Before attempting a razor cut on short hair, it’s essential to gather the necessary tools:
1. Razor: Use a razor specifically designed for haircutting, preferably with a guarded blade to minimize the risk of cuts.
2. Combs: Have a wide-tooth comb for detangling and sectioning, as well as a fine-tooth comb for precision.
3. Protective Gear: To prevent injury, consider using protective gloves to shield your hands from the razor blade.
4. Styling Products: Have styling products such as a lightweight mousse or texturizing spray on hand to enhance the final look.
With these tools prepared, you’ll be ready to execute a razor cut with precision and safety.
Hair Preparation
Properly preparing the hair before cutting is crucial for achieving optimal results. Follow these steps to prepare the hair:
1. Wash the Hair: Start by washing the hair with a gentle shampoo to remove any dirt, oil, or product buildup. Follow up with a hydrating conditioner to ensure the hair is adequately moisturized.
2. Towel Dry: Gently towel dry the hair to remove excess moisture, but leave it slightly damp. Avoid vigorous rubbing, as this can cause tangles and breakage.
3. Detangle: Use a wide-tooth comb to gently detangle the hair, starting from the ends and working your way up to the roots. This will ensure smooth, even cutting.
4. Section the Hair: Divide the hair into manageable sections using clips or hair ties. This will allow for more precise cutting and better control over the overall shape and style.
By properly preparing the hair, you’ll create a solid foundation for a successful razor cut.
Sectioning the Hair
Proper sectioning is essential for achieving an even and balanced razor cut. Follow these guidelines to section the hair effectively:
1. Start by dividing the hair into four main sections: two at the front and two at the back.
2. Create a horizontal parting at the crown of the head, separating the top section from the bottom.
3. Clip the top section out of the way, then divide the bottom section into subsections as needed, depending on the thickness of the hair.
4. Work methodically from one section to the next, ensuring each section is evenly distributed and properly sectioned before beginning the cutting process.
By sectioning the hair properly, you’ll ensure a controlled and consistent razor cut.
Technique Demonstration
Now that the hair is prepped and sectioned, it’s time to demonstrate the razor cutting technique:
1. Hold the razor tool at a 45-degree angle to the hair, with the blade facing away from the scalp.
2. Starting at the mid-lengths of the hair, gently glide the razor down towards the ends in a smooth, fluid motion.
3. Use short, feathery strokes to create texture and movement, avoiding any harsh lines or blunt edges.
4. Continue working through each section of hair, making sure to maintain consistent tension and angle with each stroke.
5. periodically comb through the hair to assess the progress and make any necessary adjustments.
Throughout the cutting process, focus on creating soft, blended layers that enhance the natural movement of the hair. Take care to avoid over-texturizing or removing too much length, as this can result in an uneven or choppy finish.

