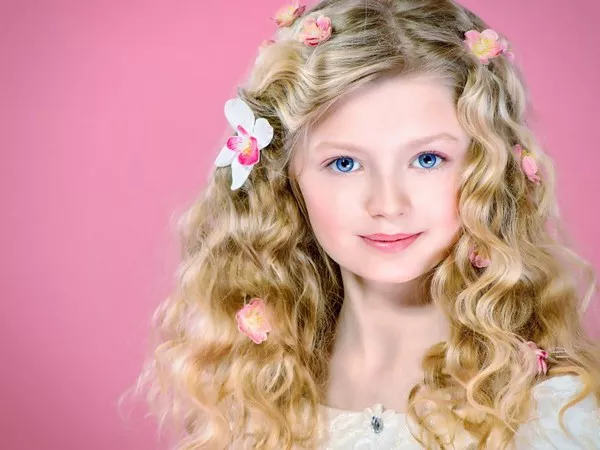
Braided hairstyles are a timeless and versatile choice for girls of all ages. Whether it’s for a special occasion or just an everyday look, braids can add a touch of charm and elegance to any girl’s hair. In this complete guide, we’ll explore a variety of adorable braided hairstyles for girls. From simple and quick styles to more intricate designs, you’ll find inspiration and step-by-step instructions to help you create beautiful braids that your little one will love.
Essential Tools and Preparation
Before you start braiding, it’s essential to have the right tools and prepare the hair properly. Here’s what you’ll need:
Tools and Materials
Wide-toothed comb: Use it to detangle the hair gently, ensuring a smooth foundation for braiding.
Hair elastics: Opt for small, clear elastics to secure sections of hair without distracting from the braid’s beauty.
Bobby pins: These come in handy for securing loose strands and adding extra flair to the braids.
Hairbrush: Use a soft-bristle brush for a polished finish.
Hair accessories: Ribbons, beads, and bows can enhance the look of your braids.
Preparation
Clean and dry hair: Start with freshly washed and dried hair for the best results.
Detangle: Carefully detangle the hair to remove any knots or tangles. A wide-toothed comb is perfect for this.
Classic Three-Strand Braid
The classic three-strand braid is the foundation for many braided hairstyles. Here’s how to create this timeless look:
Step 1: Divide the Hair
Begin by parting the hair into three equal sections. Hold the left section with your left hand, the middle section with your right hand, and let the right section rest on its own.
Step 2: Start Braiding
Cross the left section over the middle section, so it becomes the new middle section. Then, cross the right section over the middle section. Continue this pattern, alternating between left and right, until you’ve reached the end of the hair.
Step 3: Secure with an Elastic
Once you’ve braided to the end, use a small hair elastic to secure the braid in place.
Step 4: Fluff and Adjust
To make the braid appear fuller and more playful, gently tug on the sides of each section to loosen the braid slightly.
French Braid
The French braid is a sophisticated and elegant choice for girls. Here’s how to create a beautiful French braid:
Step 1: Start at the Crown
Begin by parting the hair at the crown of the head into three equal sections.
Step 2: Begin Braiding
Cross the right section over the middle section, and then cross the left section over the middle section. Now, incorporate small sections of hair from each side as you continue to braid.
Step 3: Add Hair Gradually
As you braid, add small sections of hair from the sides into the braid, incorporating them into the right and left sections respectively.
Step 4: Continue Braiding
Keep adding hair until you’ve braided to the end of the hair. Secure the braid with an elastic.
Step 5: Finishing Touches
To add a polished look, you can wrap a small strand of hair around the elastic and secure it with a bobby pin.
Dutch Braid
The Dutch braid is similar to the French braid but with a unique twist. It creates a striking and distinctive look. Here’s how to create a Dutch braid:
Step 1: Start at the Crown
Begin by parting the hair at the crown of the head into three equal sections.
Step 2: Begin Braiding Under
Instead of crossing the right and left sections over the middle section, cross them under the middle section.
Step 3: Add Hair Gradually
As you braid, add small sections of hair from the sides into the braid, incorporating them into the right and left sections underneath the middle section.
Step 4: Continue Braiding
Keep adding hair until you’ve braided to the end of the hair. Secure the braid with an elastic.
Step 5: Final Touches
For added style, gently tug on the sides of the braid to make it appear fuller and more intricate.
Fishtail Braid
The fishtail braid is a unique and eye-catching braid that’s surprisingly simple to create. Here’s how to make a fishtail braid:
Step 1: Divide into Two Sections
Start by dividing the hair into two equal sections. Hold the right section with your right hand and the left section with your left hand.
Step 2: Begin Braiding
Take a small strand of hair from the outer edge of the right section and cross it over to the left section.
Step 3: Repeat on the Left
Now, take a small strand of hair from the outer edge of the left section and cross it over to the right section.
Step 4: Continue Braiding
Keep repeating these steps, alternating between the right and left sections, until you’ve braided to the end of the hair.
Step 5: Secure with an Elastic
Use a small hair elastic to secure the end of the fishtail braid.
Step 6: Adjust and Fluff
To give the fishtail braid a more relaxed and messy appearance, gently tug on the sides of the braid.
Conclusion
Braided hairstyles for girls offer a world of creativity and beauty. Whether you prefer the classic elegance of a French braid or the unique charm of a fishtail braid, these step-by-step instructions will help you create stunning looks that your little one will adore. With the right tools and preparation, you can embark on a braiding journey that adds a touch of magic to every day. So, let your imagination run wild, and enjoy creating these adorable braided hairstyles for girls that are sure to make your child feel extra special.

