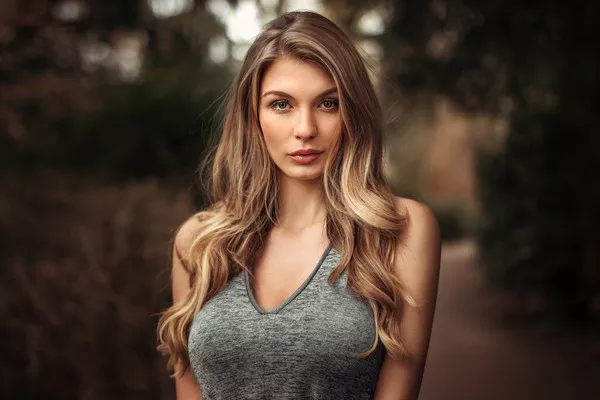
A wedding updo is a classic and elegant hairstyle choice that beautifully showcases long hair on your special day. Whether you envision a sophisticated chignon, a romantic braided updo, or a tousled bun, creating a stunning updo requires careful planning and execution. In this step-by-step guide, we will walk you through the process of achieving a picture-perfect wedding updo for long hair, ensuring you look radiant and stylish as you walk down the aisle.
Step 1: Preparation
Wash your hair the day before the wedding, as freshly washed hair can be more challenging to style and hold in place. Apply a lightweight conditioner to ensure smoothness and manageability.
If your hair is naturally straight or lacks texture, consider using a texturizing spray or sea salt spray to add grip and volume to your hair.
Blow-dry your hair using a round brush to create lift at the roots. For added volume, flip your hair upside down while drying.
Step 2: Sectioning
Divide your hair into sections: top, sides, and back. Clip the sections you are not working on to keep them separate.
Take the top section of your hair and backcomb gently at the roots to create volume. Smooth the top layer with a brush.
Step 3: Style Selection
- Choose the type of updo you desire. Consider the theme of your wedding, the neckline of your dress, and any hair accessories you plan to wear.
- Popular updo styles include:
a. Classic Chignon: Gather your hair into a low bun at the nape of your neck for a timeless and elegant look.
b. Braided Updo: Incorporate braids into your updo to add texture and intricacy.
c. Romantic Loose Bun: Create a soft, loose bun for a more effortless and relaxed vibe.
d. Twisted Updo: Twist sections of hair and secure them into an updo for a modern and chic style.
Step 4: Updo Assembly
Begin by securing the back section of your hair into a ponytail or bun at the desired height or position.
Take sections of the remaining hair and twist or braid them, securing them to the base of the ponytail or bun using bobby pins.
Continue twisting, braiding, and pinning sections of hair until all the hair is incorporated into the updo. Leave a few face-framing tendrils or wisps for a soft, romantic look.
Check the balance and symmetry of your updo in a mirror, making any necessary adjustments.
Step 5: Finishing Touches
Spray your updo lightly with a strong-hold hairspray to ensure it stays in place throughout the day.
If desired, adorn your updo with decorative accessories such as jeweled pins, fresh flowers, or a delicate veil.
Gently tug on the sides of your updo and tease a few strands to create a relaxed and undone effect.
Step 6: Final Tips
Schedule a trial session with a professional hairstylist to perfect your chosen updo style and ensure it complements your facial features and wedding dress.
Practice the updo at least once before the wedding to familiarize yourself with the process and make any necessary adjustments.
On the wedding day, consider having a trusted friend or hairstylist assist you in achieving the updo to reduce stress and ensure a flawless result.
Conclusion:
Creating a captivating wedding updo for long hair requires careful preparation, styling techniques, and attention to detail. By following this step-by-step guide and practicing in advance, you can achieve a breathtaking updo that perfectly complements your bridal look. Remember to choose a style that aligns with your wedding theme, dress, and personal taste, and don’t forget the finishing touches that add a touch of glamour and elegance. With patience and practice, you’ll be able to confidently walk down the aisle with a stunning updo that leaves a lasting impression.

