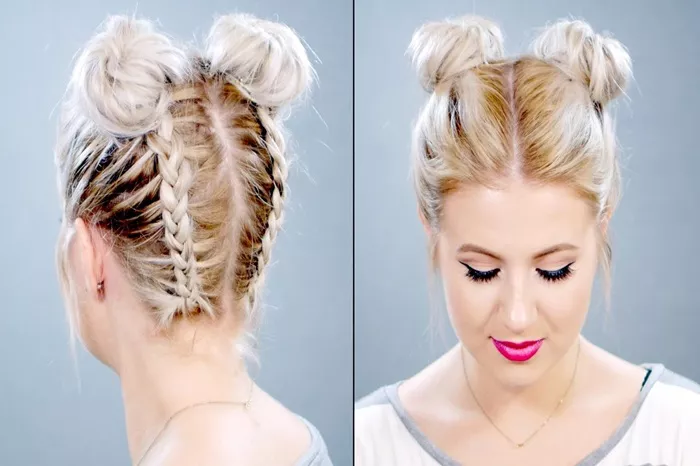
Creating a big bun with short hair can be a fun and stylish challenge. Despite the limitations of length, with the right techniques and products, you can achieve a voluminous and elegant bun that makes a statement. This article provides a detailed, step-by-step guide to help you create a big bun with short hair, ensuring you can enjoy a trendy look even with less length.
Understanding the Basics
Before diving into the steps, it’s important to understand a few key concepts about styling short hair into a big bun. Short hair can present challenges, but with the right approach, you can achieve a full and attractive bun.
1. Hair Preparation
Start with Clean Hair: Clean hair holds styles better and looks fresher. Use a volumizing shampoo and conditioner to add body and texture.
Use a Volumizing Mousse: Apply a volumizing mousse to damp hair to create lift and hold. This helps in achieving a fuller bun.
Dry Hair with a Blow Dryer: Blow-dry your hair using a round brush. Lift at the roots to add volume.
Add Texture: Use a texturizing spray or dry shampoo to add grit and grip to your hair. This makes it easier to style.
SEE ALSO: How to Do Soft Curls on Short Hair?
2. Tools and Products
To create a big bun, you’ll need a few essential tools and products:
Bobby Pins: These help secure the bun in place. Opt for ones that match your hair color.
Hair Elastics: Use elastic bands to hold your bun. They should be strong and secure.
Hair Spray: This helps hold the style in place and adds shine.
Bun Maker or Sock Bun: For extra volume, a bun maker or sock bun can be helpful.
Hair Clips: Use clips to section your hair while styling.
3. Creating the Big Bun
Here is a step-by-step guide to creating a big bun with short hair:
Step 1: Create a Voluminous Base
Section Your Hair: Divide your hair into sections. Start with the bottom layer and clip the top layers out of the way.
Tease Your Hair: Gently tease the bottom section of your hair at the roots. This creates extra volume and texture.
Apply Hair Spray: Lightly spray the teased section with hairspray to hold the volume.
Step 2: Form the Bun
Gather the Hair: Bring the teased section into a loose ponytail. Secure with an elastic band.
Use a Bun Maker (Optional): Place the bun maker or sock bun around the base of your ponytail. This helps to create a fuller shape.
Wrap the Hair Around: If you’re not using a bun maker, simply wrap the ponytail around the base to form a bun.
Secure with Pins: Use bobby pins to secure the bun. Insert them at different angles for extra hold.
Pinch and Tug: Gently pull on the bun to adjust the shape and volume. This step helps to make the bun look fuller.
Step 3: Final Touches
Add Volume: If the bun isn’t as big as you’d like, add more bobby pins to adjust the shape and volume.
Smooth the Edges: Use a smoothing brush or comb to tidy up any flyaways around the bun.
Apply Hair Spray: Finish with a generous amount of hairspray to keep the bun in place.
Optional Accessories: Add decorative pins or a headband for extra style.
Tips for Different Hair Types
Fine Hair: For fine hair, use more volumizing products and teasing. A bun maker can help achieve extra volume.
Curly Hair: If you have curly hair, you might need to straighten or dampen it slightly for easier styling. Apply a curl-enhancing product to maintain your natural texture.
Thick Hair: Thick hair may need additional bobby pins to secure the bun. You might also use a larger bun maker to help shape the bun.
Maintaining the Big Bun
Avoid Overloading with Product: Too much product can weigh down your hair. Use only the necessary amount for best results.
Regular Touch-Ups: Throughout the day, check your bun and make any necessary adjustments to keep it looking fresh.
Night Care: Before bed, gently remove the bun and avoid pulling on your hair. This prevents breakage and keeps your hair healthy.
Troubleshooting Common Issues
Flat Bun: If your bun appears flat, try adding more teasing to your hair or using a bun maker for extra volume.
Loose Bun: If the bun feels loose, add more bobby pins and hairspray for extra security.
Uneven Shape: Adjust the bun by pinching and tugging to even out the shape. Ensure all sections are securely pinned.
Alternative Styles
Messy Bun: For a more relaxed look, create a messy bun by loosening the hair and allowing some strands to fall out naturally.
Low Bun: For a different look, create a low bun at the nape of your neck. This works well with both casual and formal outfits.
Half-Up Bun: Combine a half-up style with a bun for a trendy look. Gather the top half of your hair into a bun and leave the bottom half loose.
Conclusion
Making a big bun with short hair is entirely achievable with the right techniques and tools. By following these steps, you can create a full and stylish bun that adds volume and sophistication to your look. Remember to experiment with different products and methods to find what works best for your hair type and length.
With practice and patience, you can master the art of creating a big bun and enjoy a versatile and fashionable hairstyle that complements any occasion.

