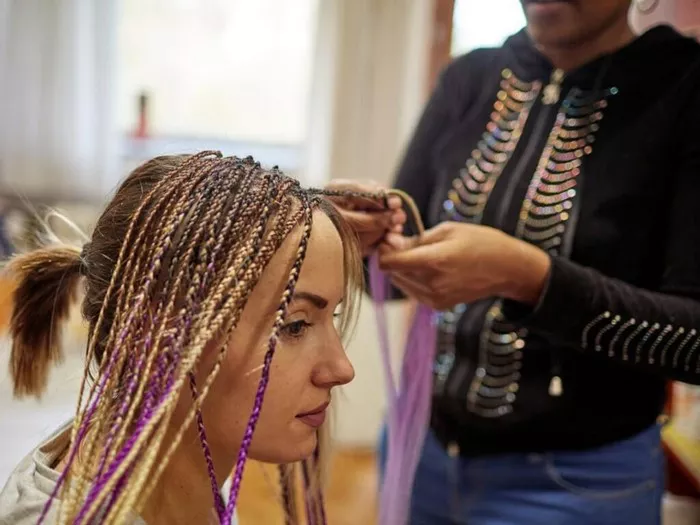
Introduction: The Importance of Safe Hair Extension Removal
Hair extensions have become a popular way to achieve longer, fuller locks, but the key to maintaining healthy natural hair lies in the proper removal of these extensions. Safely removing hair extensions is crucial to prevent damage, breakage, and discomfort. In this article, we’ll explore the essential steps and techniques for safe hair extension removal.
1. Gathering the Right Tools and Supplies
1.1 Detangling Comb or Brush
Before attempting to remove hair extensions, it’s essential to detangle your hair thoroughly. Use a detangling comb or brush to gently work through any knots or tangles. This step helps minimize pulling and stress on both your natural hair and the extensions during removal.
1.2 Hair Extension Pliers or Remover Tool
Invest in hair extension pliers or a specialized removal tool designed for the type of extensions you have. These tools are crucial for safely loosening and releasing the bonds or clips without causing damage to your natural hair.
1.3 Oil-Based Solution
Using an oil-based solution, such as coconut oil or almond oil, helps to break down any adhesive or tape used in the attachment of the extensions. Apply the oil to the bonds or tapes and let it sit for a few minutes before attempting removal. This makes the process smoother and lessens the risk of hair breakage.
2. Preparing Your Hair for Safe Removal
2.1 Separate Your Hair into Sections
Divide your hair into manageable sections, securing the rest with clips or ties. This makes the removal process more organized and prevents accidentally pulling or tugging on sections of hair not involved in the removal.
2.2 Detangle Thoroughly
Before using any tools, ensure that your hair is thoroughly detangled. Starting with untangled hair makes the removal process smoother and minimizes the risk of hair breakage. Use a gentle touch to avoid unnecessary stress on your natural hair.
2.3 Check for Damaged Extensions
Examine each extension for signs of damage, wear, or matting. If an extension appears compromised, it’s crucial to address the issue delicately to prevent further harm to your natural hair. If in doubt, seek professional assistance.
3. Step-by-Step Removal Process for Different Extension Types
3.1 Clip-In Extensions
Clip-in extensions are among the easiest to remove. Simply unclip each weft or strand starting from the bottom and working your way up. Take your time to avoid pulling or snagging your natural hair.
3.2 Tape-In Extensions
Tape-in extensions require careful handling. Apply an oil-based solution to the tape bonds, allowing it to penetrate and loosen the adhesive. Gently peel the tape wefts away from your natural hair, ensuring minimal stress on your hair strands.
3.3 Fusion or Bonded Extensions
For fusion or bonded extensions, use the specialized pliers or removal tool to break down the bonds. Work methodically, focusing on one bond at a time, and gently separate the extension from your natural hair.
4. Post-Removal Care and Hydration
4.1 Post-Removal Conditioning Treatment
After successfully removing the extensions, treat your natural hair to a nourishing conditioning treatment. This helps restore moisture and addresses any dryness or damage that may have occurred during the extension wearing period.
4.2 Gentle Styling and Handling
Give your hair a break from styling tools and tight hairstyles immediately after removal. Opt for loose, gentle styles that minimize stress on your natural hair. Avoid excessive heat styling to prevent additional damage.
4.3 Regular Maintenance and Trims
Schedule a trim or haircut to eliminate any split ends or damaged areas that may have occurred during the time you wore the extensions. Regular maintenance ensures your natural hair remains healthy and vibrant.
FAQs: Answering Your Queries
Q1: Can I remove hair extensions at home, or should I seek professional help?
A1: While some people successfully remove their extensions at home, it’s advisable to seek professional assistance, especially if you are unsure about the type of extensions or if there is any damage. Professionals have the expertise to minimize the risk of damage during removal.
Q2: How long does the hair extension removal process take?
A2: The duration varies depending on the type of extensions and the level of care during the removal process. On average, it may take 1-2 hours. However, it’s essential not to rush to prevent hair damage.
Q3: Can I reuse hair extensions after removal?
A3: It depends on the type of extensions and their condition. Clip-in extensions can often be reused, while tape-in or bonded extensions may need to be replaced. Assess the condition of each extension carefully.
Q4: Are there specific products recommended for post-removal care?
A4: Gentle, hydrating shampoos and conditioners, along with deep conditioning treatments, are recommended for post-removal care. Avoid products with harsh chemicals and opt for those specifically designed for damaged or treated hair.
In conclusion, safe hair extension removal is a crucial aspect of maintaining healthy natural hair. By using the right tools, preparing your hair adequately, following a step-by-step removal process, and caring for your hair post-removal, you can enjoy the benefits of extensions without compromising the health of your natural locks. If in doubt, consulting with a professional stylist is always a wise choice.

