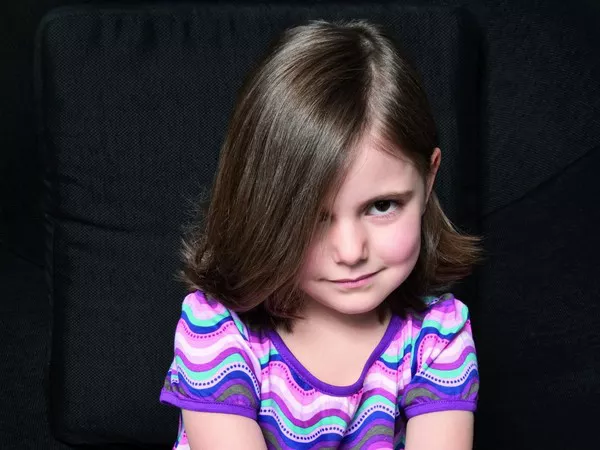
Hairstyling for children can be a fun and creative way to bond with your little ones while making them look adorable. Whether you’re preparing for a special occasion or just want to add a touch of style to their everyday look, DIY hairstyles offer an array of possibilities. In this step-by-step tutorial, we’ll explore a variety of easy-to-create hairstyles for children. These hairstyles are not only cute but also practical, ensuring that your child looks their best while staying comfortable.
Essential Tools and Preparation
Before diving into the world of DIY children’s hairstyles, it’s essential to gather the necessary tools and prepare your child’s hair. Here’s what you’ll need:
Tools and Materials
Wide-toothed comb: This helps detangle the hair gently, avoiding any discomfort for your child.
Hair elastics: Choose soft, non-damaging elastics in various sizes.
Bobby pins: Opt for child-friendly, colorful pins that are easy to work with.
Hair clips: These come in handy for sectioning and holding hair in place during styling.
Hairbrush: Use a soft-bristle brush to smoothen the hair.
Spray bottle with water: Mist the hair lightly to make it more manageable.
Preparation
Wash and condition: Start with clean, dry hair. Use a child-friendly shampoo and conditioner to keep their hair healthy.
Towel-dry: Gently blot excess water from the hair using a soft towel. Avoid vigorous rubbing to prevent damage.
Detangle: Use the wide-toothed comb to remove any knots or tangles.
Classic Ponytail
The classic ponytail is a timeless hairstyle that’s both practical and stylish for kids. Follow these steps to create a perfect ponytail:
Step 1: Section the Hair
Begin by parting the hair horizontally from ear to ear, creating two sections: a top half and a bottom half.
Step 2: Gather the Hair
Take the top section of hair and gather it at the crown of the head. Use a soft hair elastic to secure it in place.
Step 3: Smooth It Out
Brush the ponytail gently to smoothen any bumps or flyaways.
Step 4: Secure the Bottom Half
Next, gather the bottom section of hair and join it with the top ponytail, ensuring a neat and even look. Secure it with another hair elastic.
Step 5: Finishing Touches
For a polished finish, take a small strand of hair from the bottom and wrap it around the elastic to conceal it. Secure the end with a bobby pin.
Braided Pigtails
Braided pigtails are a playful and charming choice for kids with longer hair. Follow these steps to create adorable braided pigtails:
Step 1: Part the Hair
Begin by parting your child’s hair down the middle, creating two equal sections.
Step 2: Secure One Side
Take one section of hair and use a hair elastic to create a low ponytail. Make sure it’s tight but not uncomfortable for your child.
Step 3: Start Braiding
Divide the ponytail into three equal strands and start braiding. For a classic look, use a simple three-strand braid.
Step 4: Secure the End
Once you’ve reached the end of the braid, secure it with another hair elastic. Repeat these steps on the other side.
Step 5: Final Touches
To make the braids appear fuller and more playful, gently tug on the sides of each braid to loosen them slightly.
Top Knot Bun
The top knot bun is a trendy and practical hairstyle that works well for both casual and formal occasions. Here’s how to create a top knot bun for your child:
Step 1: Gather the Hair
Start by brushing all of your child’s hair upward to the top of their head, as if you were creating a high ponytail.
Step 2: Twist and Wrap
Twist the hair until it naturally forms a bun shape at the crown of the head.
Step 3: Secure with an Elastic
Once the bun is formed, use a hair elastic to secure it in place. Make sure it’s not too tight to avoid discomfort.
Step 4: Pin and Adjust
Use bobby pins to secure any loose strands and ensure that the bun stays in place throughout the day.
Step 5: Finish with Accessories
Add cute hairpins, bows, or other accessories to personalize the look.
Messy Side Braid
The messy side braid is a relaxed and boho-inspired hairstyle that’s perfect for kids who enjoy a carefree look. Follow these steps to create a beautiful messy side braid:
Step 1: Start with a Side Part
Begin by creating a side part in your child’s hair. This will determine which side the braid falls on.
Step 2: Begin Braiding
Start a traditional three-strand braid on the side with more hair. Make sure to leave a few loose strands near the face for a relaxed, messy look.
Step 3: Secure the End
Once you’ve braided the length of the hair, secure it with a hair elastic.
Step 4: Add Volume
Gently tug on the sides of the braid to give it a fuller appearance.
Step 5: Finish with Accessories
To complete the look, add colorful hairpins or bows along the braid.
Conclusion
Creating DIY hairstyles for children can be a delightful and rewarding experience for both parents and kids. These step-by-step tutorials cover a range of styles, from classic ponytails to trendy top knot buns, ensuring your child always looks their best. Remember to use child-friendly tools and be gentle when styling their hair to keep it healthy and happy. So, unleash your creativity and have fun styling your child’s hair with these easy and adorable hairstyles.

